Microgreens, the Fastest Thing You Can Grow and the One You Eat Raw
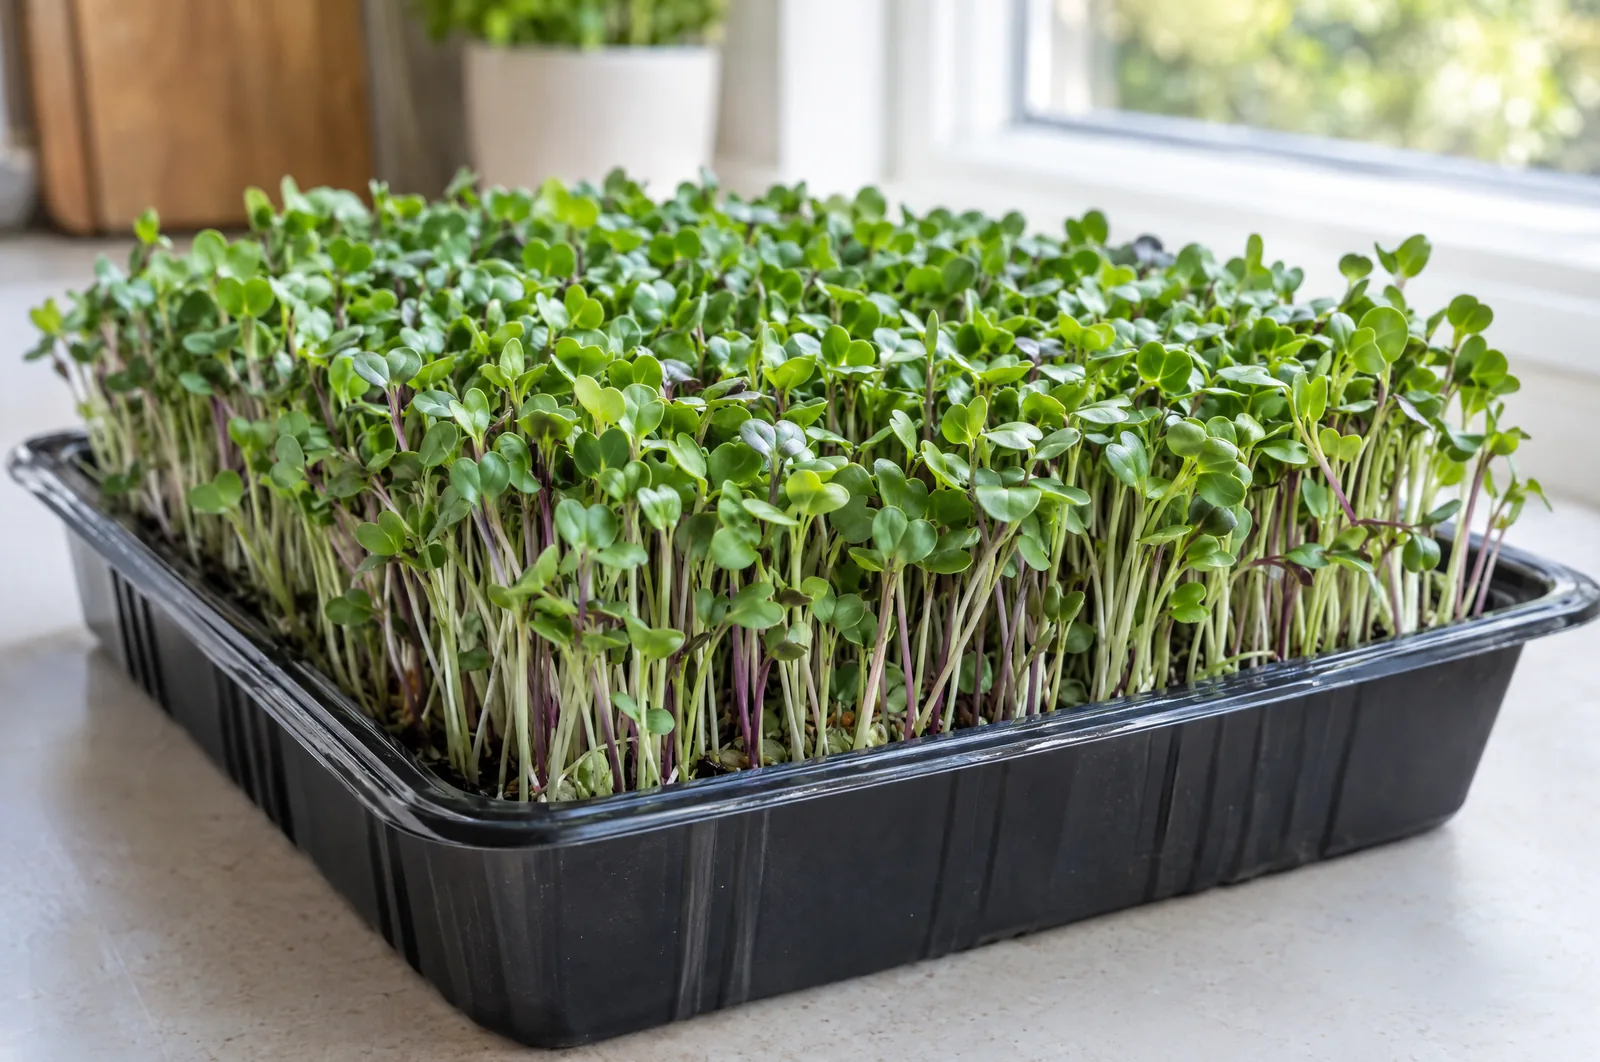
Everything else on this site asks you to build something and then wait six weeks. Microgreens ask for a takeaway container, a packet of seed and about ten days. There is no pump, no reservoir, no pH meter, and for most crops no nutrients at all, because the seed already contains everything the plant needs to reach the stage you eat it at. If a previous attempt at growing put you off, this is the one that gives you something to eat before you can lose interest.
They are not sprouts, and the difference matters
These two get used interchangeably and they are different crops grown in different ways, with different risks attached.
- Sprouts are harvested within a day or two of germination and eaten whole, seed and root included. They are usually grown in water, in a jar, warm and humid and in the dark.
- Microgreens are grown in a medium, left to reach the first true leaf stage, and cut above the surface. You eat the stem and the leaves. The seed and the roots stay behind in the tray.
That distinction is the whole reason this article recommends one and not the other. The conditions a sprout needs, which are warmth, moisture and darkness with no air movement, are an almost perfect description of what salmonella and E. coli also want. Sprouts have a long and well documented history of food poisoning outbreaks for exactly that reason.
Microgreens are not risk free, but extension guidance puts them at lower risk, partly because they are grown in light, which works against bacteria, and partly because the parts most likely to be contaminated are the seed coat and the root, and those are the parts you leave in the tray. In United States food regulation the distinction is formal: microgreens cut above the soil line are treated as ordinary produce rather than under the much stricter rules written for sprouts.
What you actually need
Less than you would think, and nothing from the hydroponics shop.
Affiliate disclosure: some links below are affiliate links. We may earn a commission if you buy through one, at no extra cost to you. As an Amazon Associate I earn from qualifying purchases. Full disclosure.
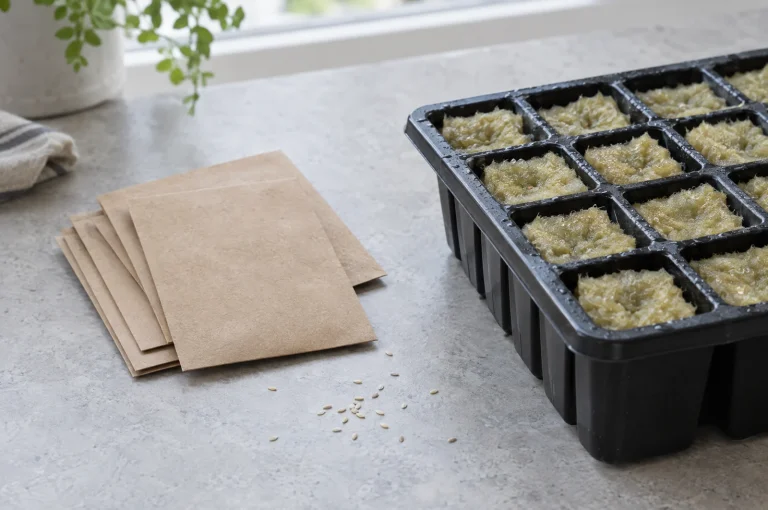
- A shallow tray, about an inch or two deep. A takeaway container works. So does a seed tray. It wants to be wider than it is deep.
- A second tray or a flat lid to sit on top for the first few days.
- A thin layer of medium. Coir is ideal and cheap. A folded sheet of kitchen paper works for the fastest crops. You are not feeding the plant through this, you are only holding moisture.
- Seed, in quantity. This is the one thing you need more of than you expect, because microgreens are sown dense. Buy seed sold for sprouting or microgreens rather than a garden packet of thirty seeds, and a mixed pack of ten types is how you find out which ones you actually like.
- A spray bottle, and later something to bottom water with.
No nutrients for most crops and most of the time. The seed carries its own packed lunch, and the plant is harvested before it needs anything else, which is the same principle described in the article on starting seeds. For slower crops run over three weeks or more, a very dilute feed once the first true leaves appear is reasonable, but it is optional rather than the default.
A grow light helps but is not essential. A bright windowsill grows a perfectly good tray of radish. It does need to be genuinely bright, for the same reason covered in the seedling article, which is that a dim windowsill produces long pale stems that fall over.
The method
- Soak the big seeds. Peas and sunflowers benefit from six to eight hours in water first. Small seeds like radish and broccoli do not need it.
- Damp the medium, then level it. Damp, not wet. A flat surface matters more here than anywhere else, because an uneven one gives you a tray that is half ready and half not.
- Sow thickly. This is the step that feels wrong. You want seeds sitting shoulder to shoulder in a single layer, nearly covering the surface. Spaced out like a normal sowing gives you a sparse disappointing tray.
- Do not cover them with medium. Press them gently into the surface instead so they make contact.
- Cover the tray and weight it. A second tray on top, with something on it for weight, for the two or three days until the seeds germinate. The darkness and the pressure together make the whole tray come up at once and push the roots down into the medium rather than lifting the seed off it.
- Give it another day or two in the dark once they are up. The stems stretch looking for light, which is the one time in growing that you actually want that, because stem is what you are harvesting.
- Uncover and give it light. The pale yellow shoots green up within hours, which is the most satisfying part of the process.
- Water from below from this point on. Pour into a tray underneath and let the medium draw it up, rather than spraying over the top. Wet leaves in a dense canopy are the main cause of the trouble in the next section.
What to grow and how long it takes
| Crop | Days | Soak first |
|---|---|---|
| Radish | 5 to 7 | No |
| Broccoli | 8 to 12 | No |
| Pea | 8 to 12 | Yes |
| Sunflower | 8 to 12 | Yes |
| Basil | 16 to 25 | No |
Typical figures from sowing to cutting. Published work puts the average microgreen cycle at around fourteen days depending on species, and these are given as ranges because light and warmth move them about.
Start with radish. It is the fastest, it is almost impossible to fail with, it tolerates being treated badly, and it tastes strongly of radish, so the result is unmistakably worth eating. Broccoli is the one most people settle on afterwards. Basil is in the table only as a warning, because it is slow and it produces a gel around the seed when wet that makes the whole thing stickier and fussier than it needs to be for a first attempt.
The white fuzz question
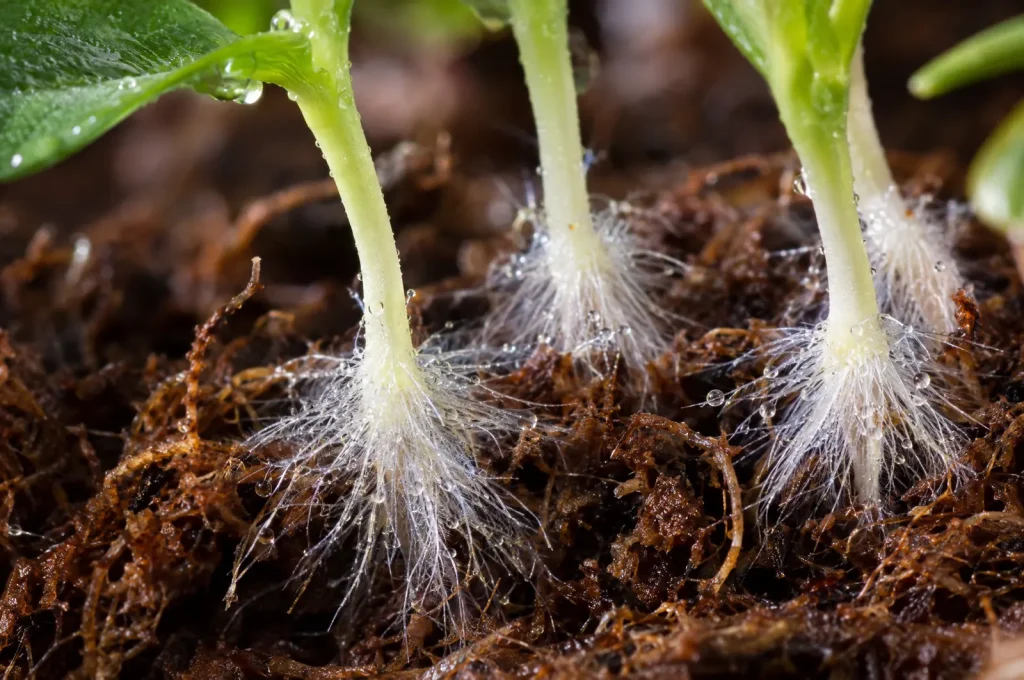
On about day three, a first time grower looks into the tray, sees a fine white fuzz around the base of the stems, concludes the whole thing has gone mouldy, and throws it away. Usually it was fine.
What is almost certainly there is root hairs. They appear as a dense even halo radiating out from each stem where it meets the medium, on every seedling at once, and they are part of the plant. They turn up right on cue as the roots take hold, and they often flatten and vanish from view when you mist them, because they are wettable in a way that fungal growth is not.
Mould, and the damping off disease that produces similar white fuzzy growth, looks different in character. It is cobwebby and stringy rather than a neat halo, it spreads in patches that do not respect where the plants are, it will run onto bare medium and up the walls of the tray, and it tends to smell musty when you put your nose near it. Affected seedlings collapse at the base, which root hairs obviously do not cause.
Being honest about the strength of that. Extension sources document damping off thoroughly and photograph it in microgreen trays, but I could not find one setting out a formal visual test for telling it from root hairs. The description above is the practical distinction growers use rather than a documented diagnostic, so treat it as a strong hint rather than a certainty. Given that you are going to eat this raw and uncooked, the safe rule when you genuinely cannot tell is to bin the tray and start again. The entire cost is a spoonful of seed and ten days.
Prevention is the same short list in every source. Do not over sow to the point of a solid mat with no air in it, improve the air movement around the tray, switch to watering from below, and do not let the surface sit wet. Those four between them remove most of the conditions the fungi need.
Because you eat them raw
This is the part of microgreen growing that deserves more care than the growing does, and it gets almost no attention in the enthusiast material.
- Buy seed from a reputable supplier, ideally sold for sprouting or microgreen use. The organisms that make people ill are typically carried on the seed coat, so the seed is the single most important decision you make.
- Sanitise the tray between crops. Extension guidance for home growing suggests a 10 percent bleach solution, followed by a thorough rinse. The same routine as everything else on this site.
- Wash your hands before handling the tray, not only before eating. You are the other likely source.
- Cut above the medium and keep the medium out of the harvest. This is most of why microgreens are the safer of the two crops, and it only holds if you actually do it.
- Refrigerate after cutting and use within a few days. Do not wash them until you are ready to eat, for the same reason as any other leaf.
Cutting and starting again
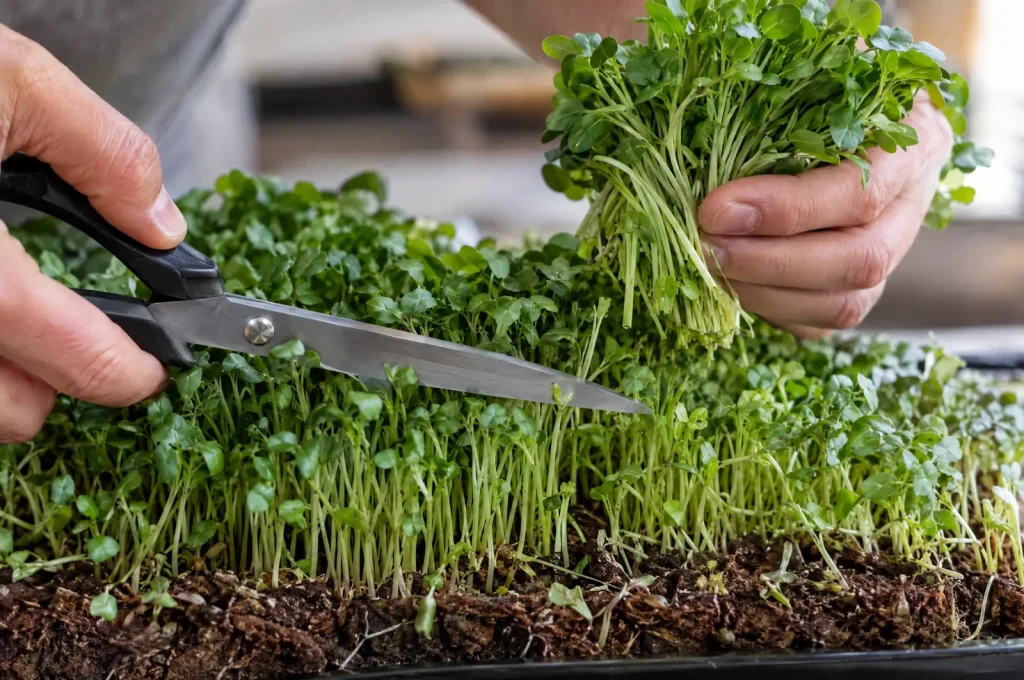
Harvest at the first true leaves. The two rounded seed leaves come up first, and the true leaves appear between them and look like a miniature version of the adult plant. That is the point of best flavour and the point the whole method is aimed at.
Cut with scissors, straight across, well clear of the medium. Hold a bunch with your free hand as you go and the whole tray comes off in a few passes. Do not pull them out, which brings up seed and medium and undoes the safety point above.
Almost no microgreen regrows usefully after cutting. Peas are the partial exception and will sometimes give a thin second cut. Everything else is a single harvest, so the tray gets emptied, the medium composted and the tray sanitised for the next sowing. Starting a new tray every week is what turns this from a novelty into a supply, and it takes about five minutes.
If this has worked and you want something that keeps producing rather than ending in a single cut, basil and lettuce in a proper system are the natural next step, and the mason jar build is the cheapest way into one.
Where this comes from
The distinction between sprouts and microgreens, the relative food safety risk and the reasons behind it, the point that the seed coat is the likely source of contamination, the 10 percent bleach sanitising advice and the regulatory position on produce cut above the soil line are from Penn State Extension’s guidance on food safety in microgreens production, University of New Hampshire Extension on where sprouts and microgreens fall under food safety rules, and UConn Extension’s microgreens publication. The covering and weighting routine and the dark period are from extension home growing guidance. The damping off description and its conditions are from Penn State Extension. The average cycle length of around fourteen days is from a published review. The per crop day ranges in the table are typical figures rather than measurements, which is why they are ranges, and the practical distinction between root hairs and mould is grower practice rather than a documented diagnostic, which is said in the section itself.
Found this useful? Tell Google to show you more of it.
Add to Preferred Sources