
Complete hydroponic setup for under $50: every essential item
The entire beginner kit, itemised and priced, plus the expensive things you can safely ignore for your first year.
Affiliate disclosure: The Hydroponist is reader-supported. When you buy through links on our site, we may earn an affiliate commission at no extra cost to you. We only recommend products we have researched thoroughly. Your trust matters to us. As an Amazon Associate I earn from qualifying purchases.
You can spend $300 on a countertop unit with an app. You can also spend $15 and grow the same basil. This page is the second option, itemised.
The $15 starter kit (one plant)
| Item | Typical price | Why you need it | Cheaper alternative |
|---|---|---|---|
| Wide-mouth 32 oz mason jar | $3 | The reservoir. Wide-mouth so a 3-inch net pot sits on the rim. | A jar you already own, or a 2-litre bottle for free |
| 3-inch net pots, 10-pack | $5 | Holds the plant and medium above the water. | A plastic cup with holes melted or cut in it |
| Clay pebbles, 2L bag | $5 | Inert root support. Reusable indefinitely after rinsing. | Rockwool cubes, or perlite in a fine-mesh pot |
| Hydroponic nutrient, small bottle | $8 to $12 | The plant food. Non-negotiable. | No real substitute. Do not use garden fertiliser. |
| Total | $15 to $25 | Enough for several jars, not just one |
The next $30 (four plants, active system)
| Item | Typical price | Why | Money-saving note |
|---|---|---|---|
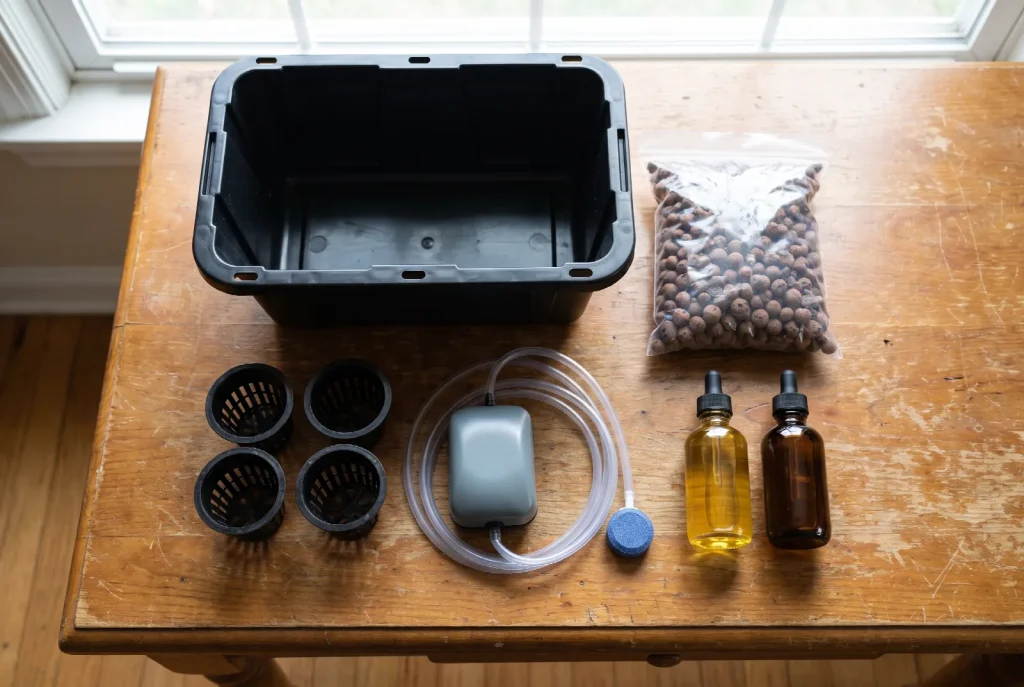
| Food-grade 5-gallon bucket and lid | $0 to $8 | The DWC reservoir. | Restaurants and bakeries give these away. Just ask. |
| Aquarium air pump, tubing, air stone | $10 to $15 | Oxygenates the solution and roughly doubles growth rate over passive. | Buy from the pet aisle, not the hydroponics shop. Identical hardware, lower price. |
| pH test strips | $5 | The single most useful measurement you can take. | A liquid drop kit at $8 lasts far longer per dollar. |
| Mechanical outlet timer | $5 | For a grow light. Removes the most common lighting mistake permanently. | Only needed if you use a lamp. |
| Running total | $35 to $55 | A one-plant jar and a four-plant bucket |
Where spending more is genuinely worth it
- A digital pH pen ($15 to $25) over strips. Once you run several systems, reading colours against a chart every week gets old and imprecise. This is the first upgrade we would make.
- A better grow light, if you have no good window. Light is the usual limit on indoor growth. A $35 light in a dark room does more for your yields than any nutrient upgrade.
- More net pots and pebbles. Boring, but the cheapest way to multiply output is more containers, not better ones.
What to skip in your first year
| Item | Typical price | Why skip it for now |
|---|---|---|
| All-in-one countertop system | $150 to $300 | You pay a large premium for a pump, a light and proprietary pods. Build two DIY systems first and then decide whether you still want one. |
| Water chiller | $100+ | Solves a problem most home growers do not have. Move the reservoir out of the sun instead. |
| pH Up and pH Down bottles | $15 | White vinegar and baking soda do the same job at this scale for pennies. |
| Nutrient boosters and additives | $20 to $60 | A complete base nutrient already contains all seventeen elements. Additives optimise the last few percent, which is not where your yields are being lost. |
| CO2 equipment | $50+ | Only relevant in a sealed, high-intensity grow room. |
| EC/TDS meter | $15 to $25 | Useful eventually. For a first grow, mixing at the label rate and watching pH is enough. |
Related: the minimalist equipment checklist
Build before you buy
Every plan on this site is free, and the most popular one costs about $10 and takes 15 minutes.