
Soda bottle hydroponics: a free Kratky system from a 2-litre bottle
The cheapest build on this site. A bottle you were going to recycle, a net pot, and nutrients. That is the whole parts list.
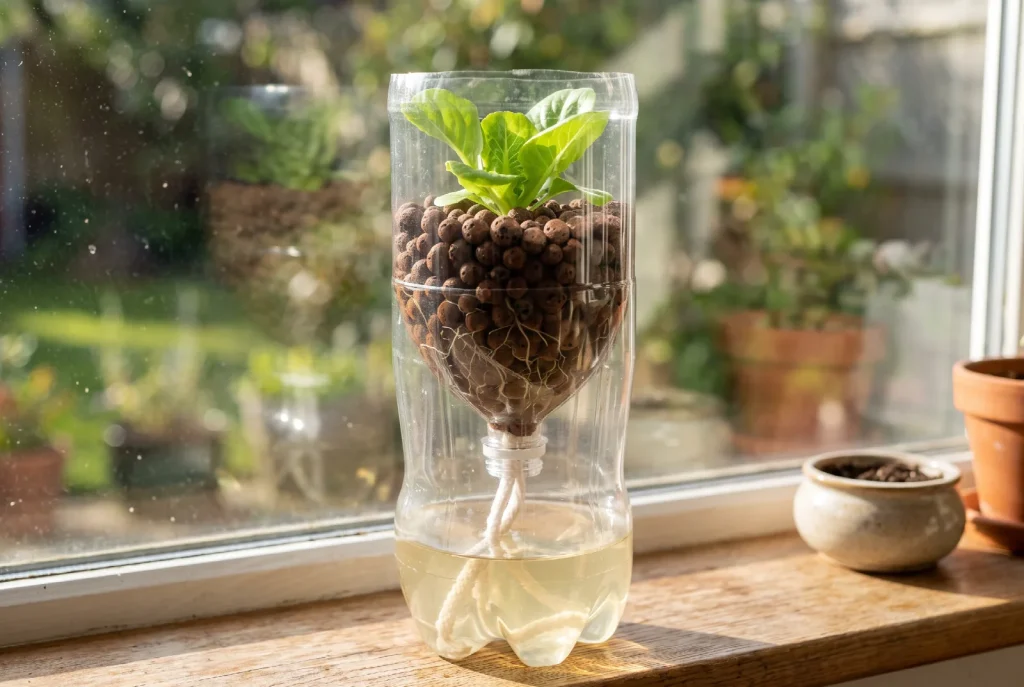
A 2-litre bottle holds twice what a mason jar does, which means a bigger reservoir, less frequent attention, and enough capacity for a full lettuce head rather than a single herb. It is also free, which makes it a good way to run three or four experiments side by side without spending anything.
What you need
- A clean 2-litre plastic bottle, label removed
- One 3-inch net pot (or a plastic cup with holes cut in it)
- Clay pebbles
- Hydroponic nutrient solution
- A seedling
- Scissors or a utility knife, plus foil or dark paint
Build it
Cut the bottle
Cut the bottle across, roughly a third of the way down from the top. Keep both halves. Some bottles have a moulded ridge at about the right height that makes a handy cutting guide.
Invert the top
Turn the top section upside down and rest it inside the base like a funnel. The neck now hangs down into the reservoir. This is where the net pot will sit.
Block the light
Wrap the lower half in foil, or paint it. This step matters more here than with a mason jar because clear plastic lets light straight into the solution and algae will take hold within a week.
Fill and plant
Pour nutrient solution into the base until the level will just touch the bottom of the net pot once seated. Fill the net pot with rinsed pebbles and your seedling, then set it into the inverted neck.
Place it
Put it somewhere bright and leave it alone. As with any Kratky system, the falling water level is the design working, not a problem to fix.
Prefer glass on the windowsill?
The mason jar version of this build is tidier, and it is our most popular free plan.